Installing Sensei
This guide will go through the steps to install and authenticate your Sensei installation. Note that a nightly build version is also available, see Sensei alpha version.
Contents
Install Direct from Marketplace
You can install direct from the JetBrains marketplace by clicking the button below.
Downloading and Installing
Since Sensei gets distributed through the JetBrains marketplace, there is no need to leave your IDE to install the tool. It can be installed by going to the IDE plugin settings.
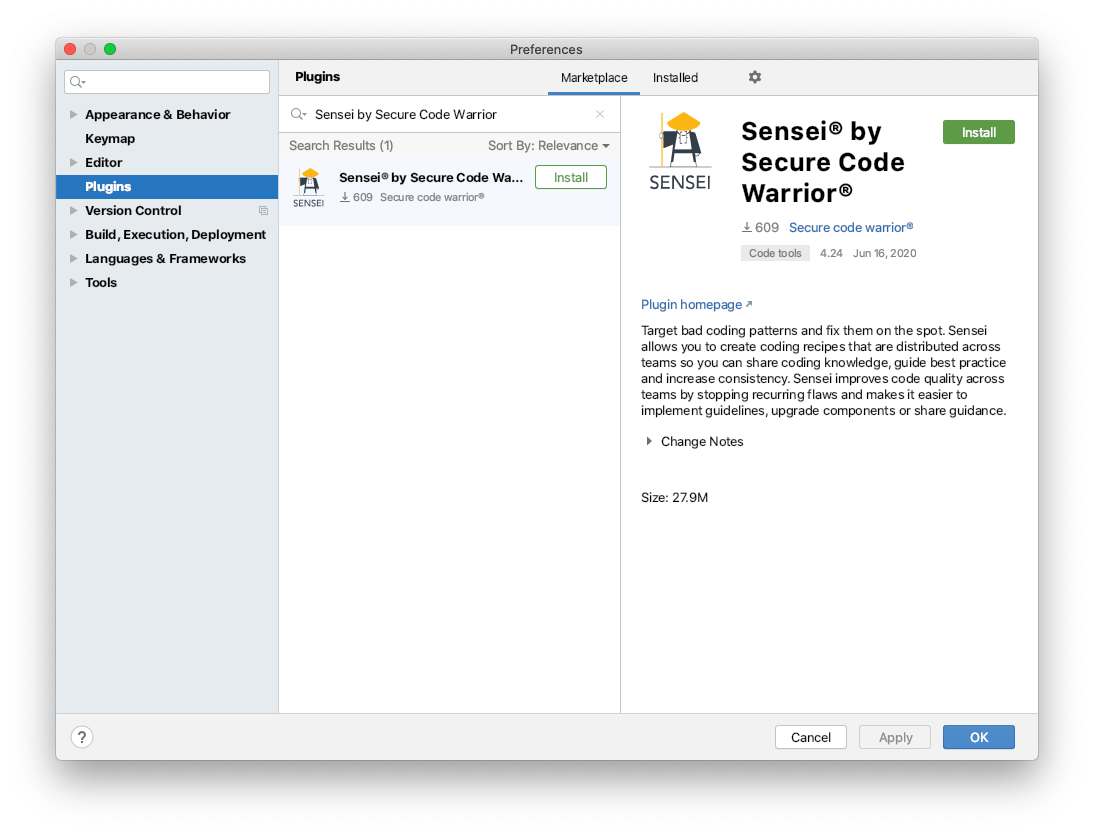
Find Sensei in the list of plugins and hit the install button
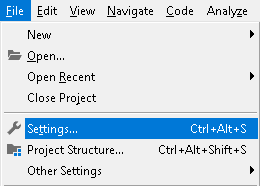
Open the IDE settings and navigate to the 'plugins' section. This can be opened from the menu bar:
macOS: IntelliJ IDEA | Preferences | Plugins
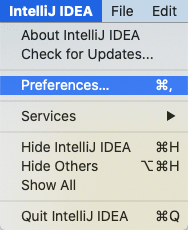
Windows and Linux: File | Settings | Plugins
Search for Sensei and hit the install button
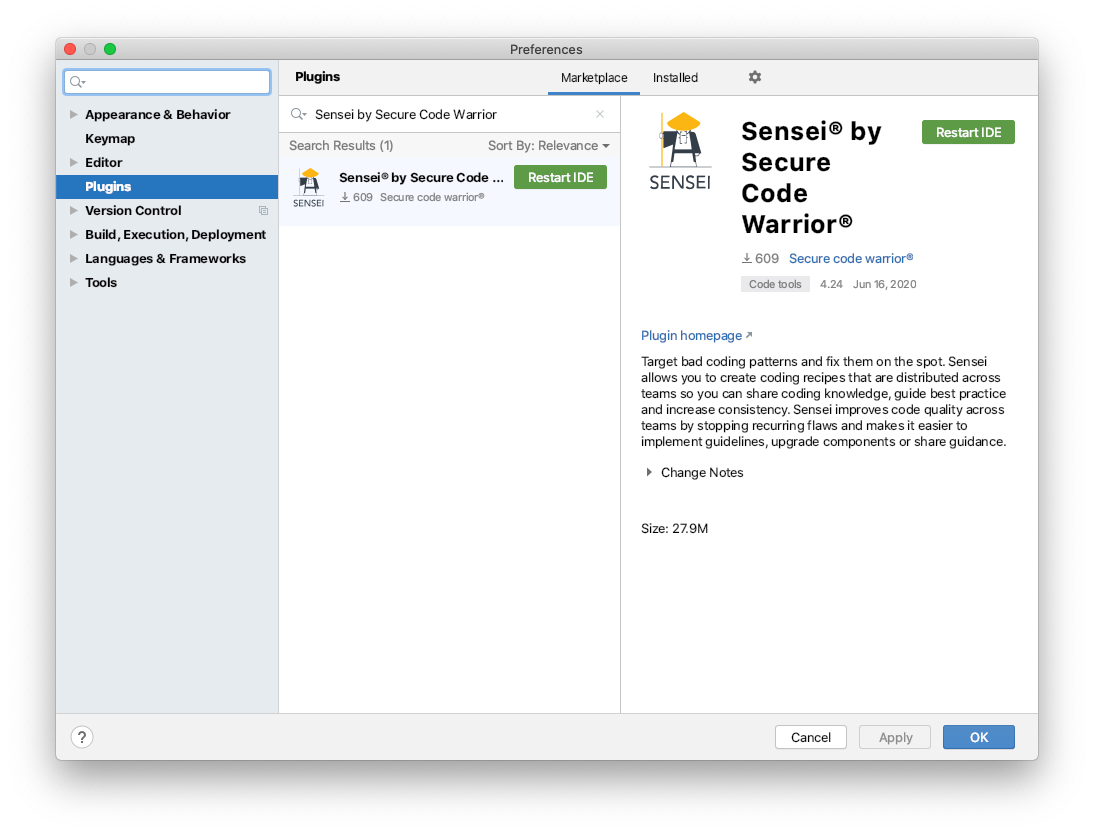
Restart after IntelliJ finished the download
Wait until IntelliJ has finished the download and installation. Afterwards, IntelliJ is going to prompt you to restart your IDE.
Optional authentication
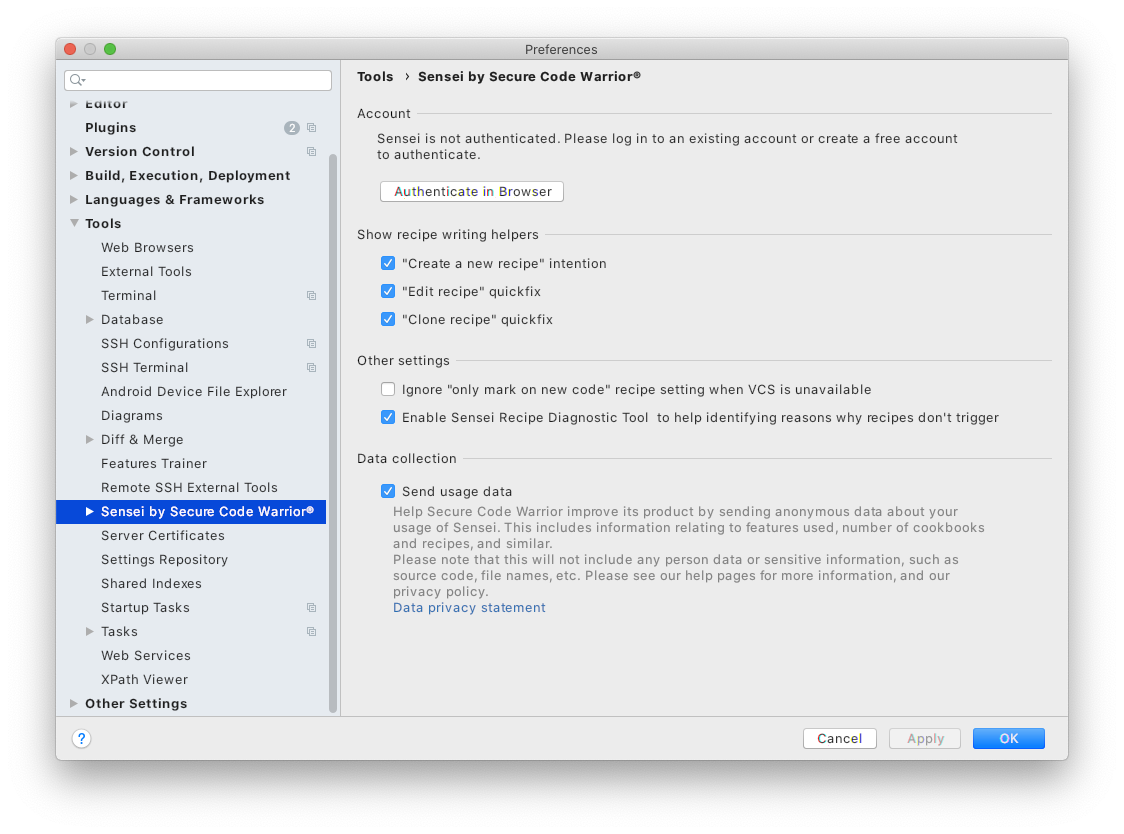
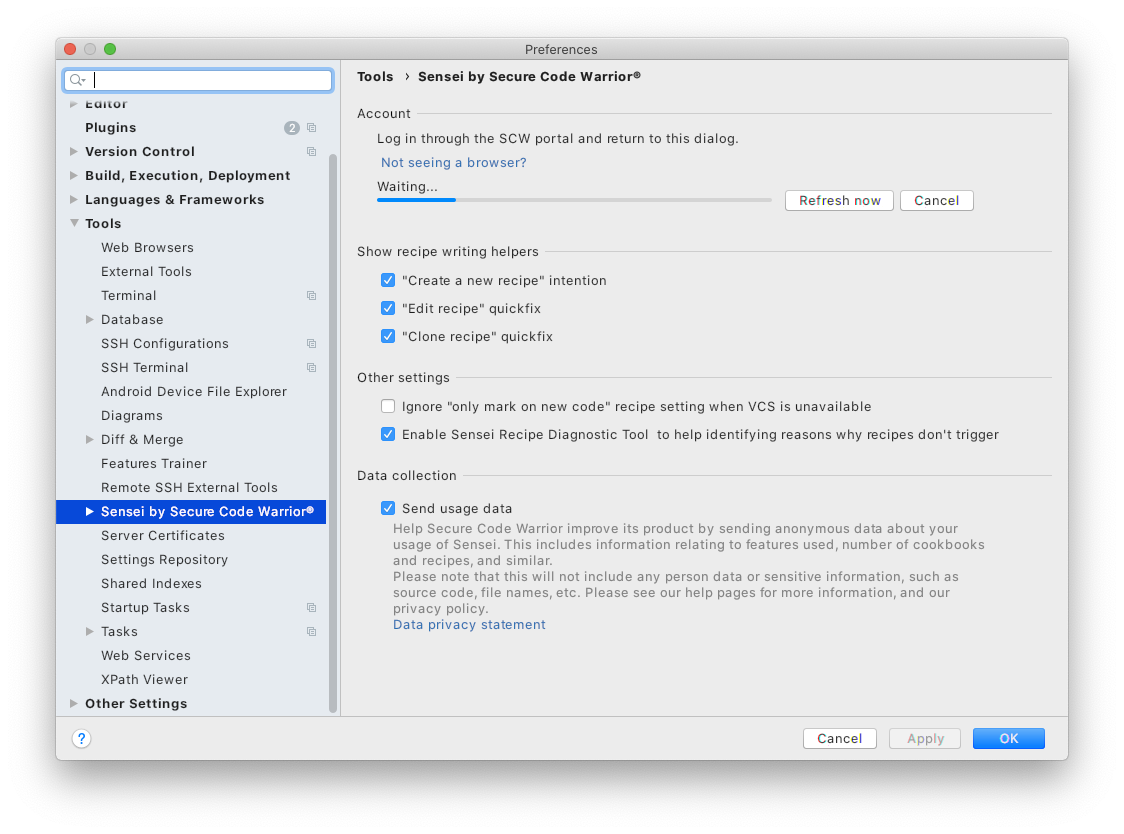
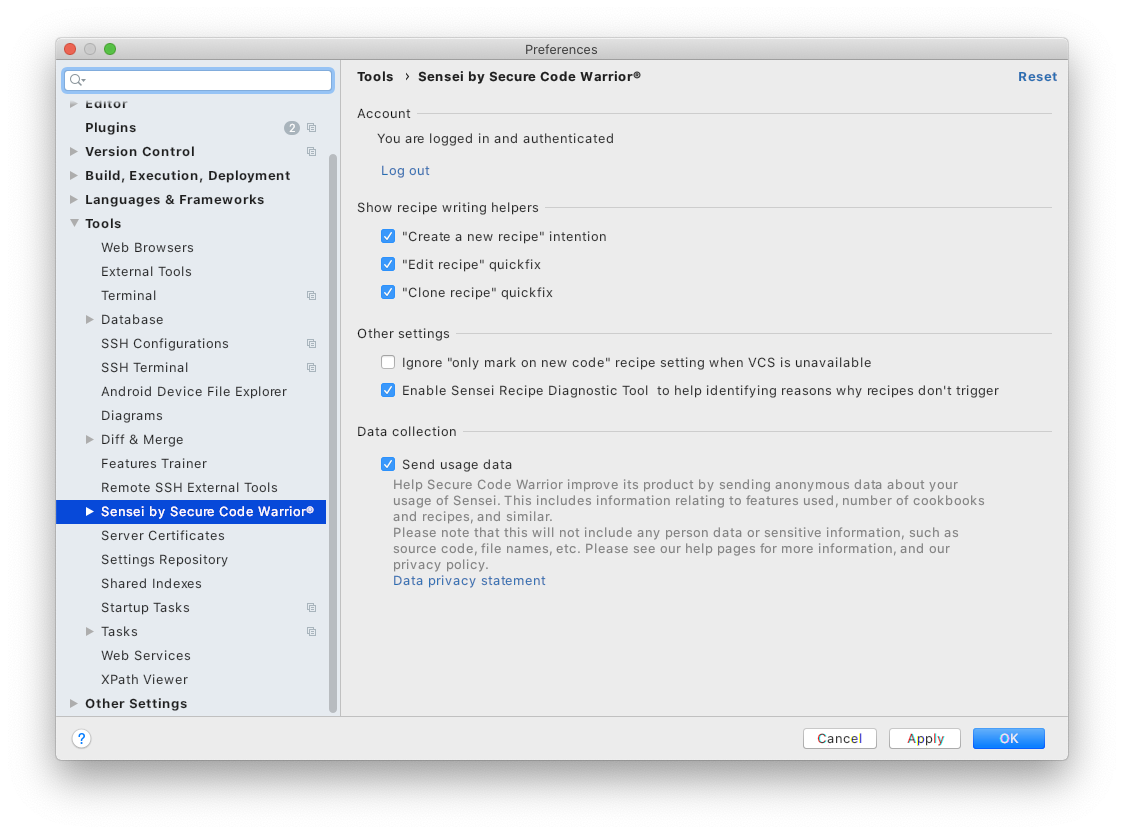
After the restart of IntelliJ, Sensei will be ready for use. If you are using an Enterprise version of Sensei then authenticate the plugin to use the organization features like centrally controlled Remote Cookbooks.
